Home
Preserve & share your memories
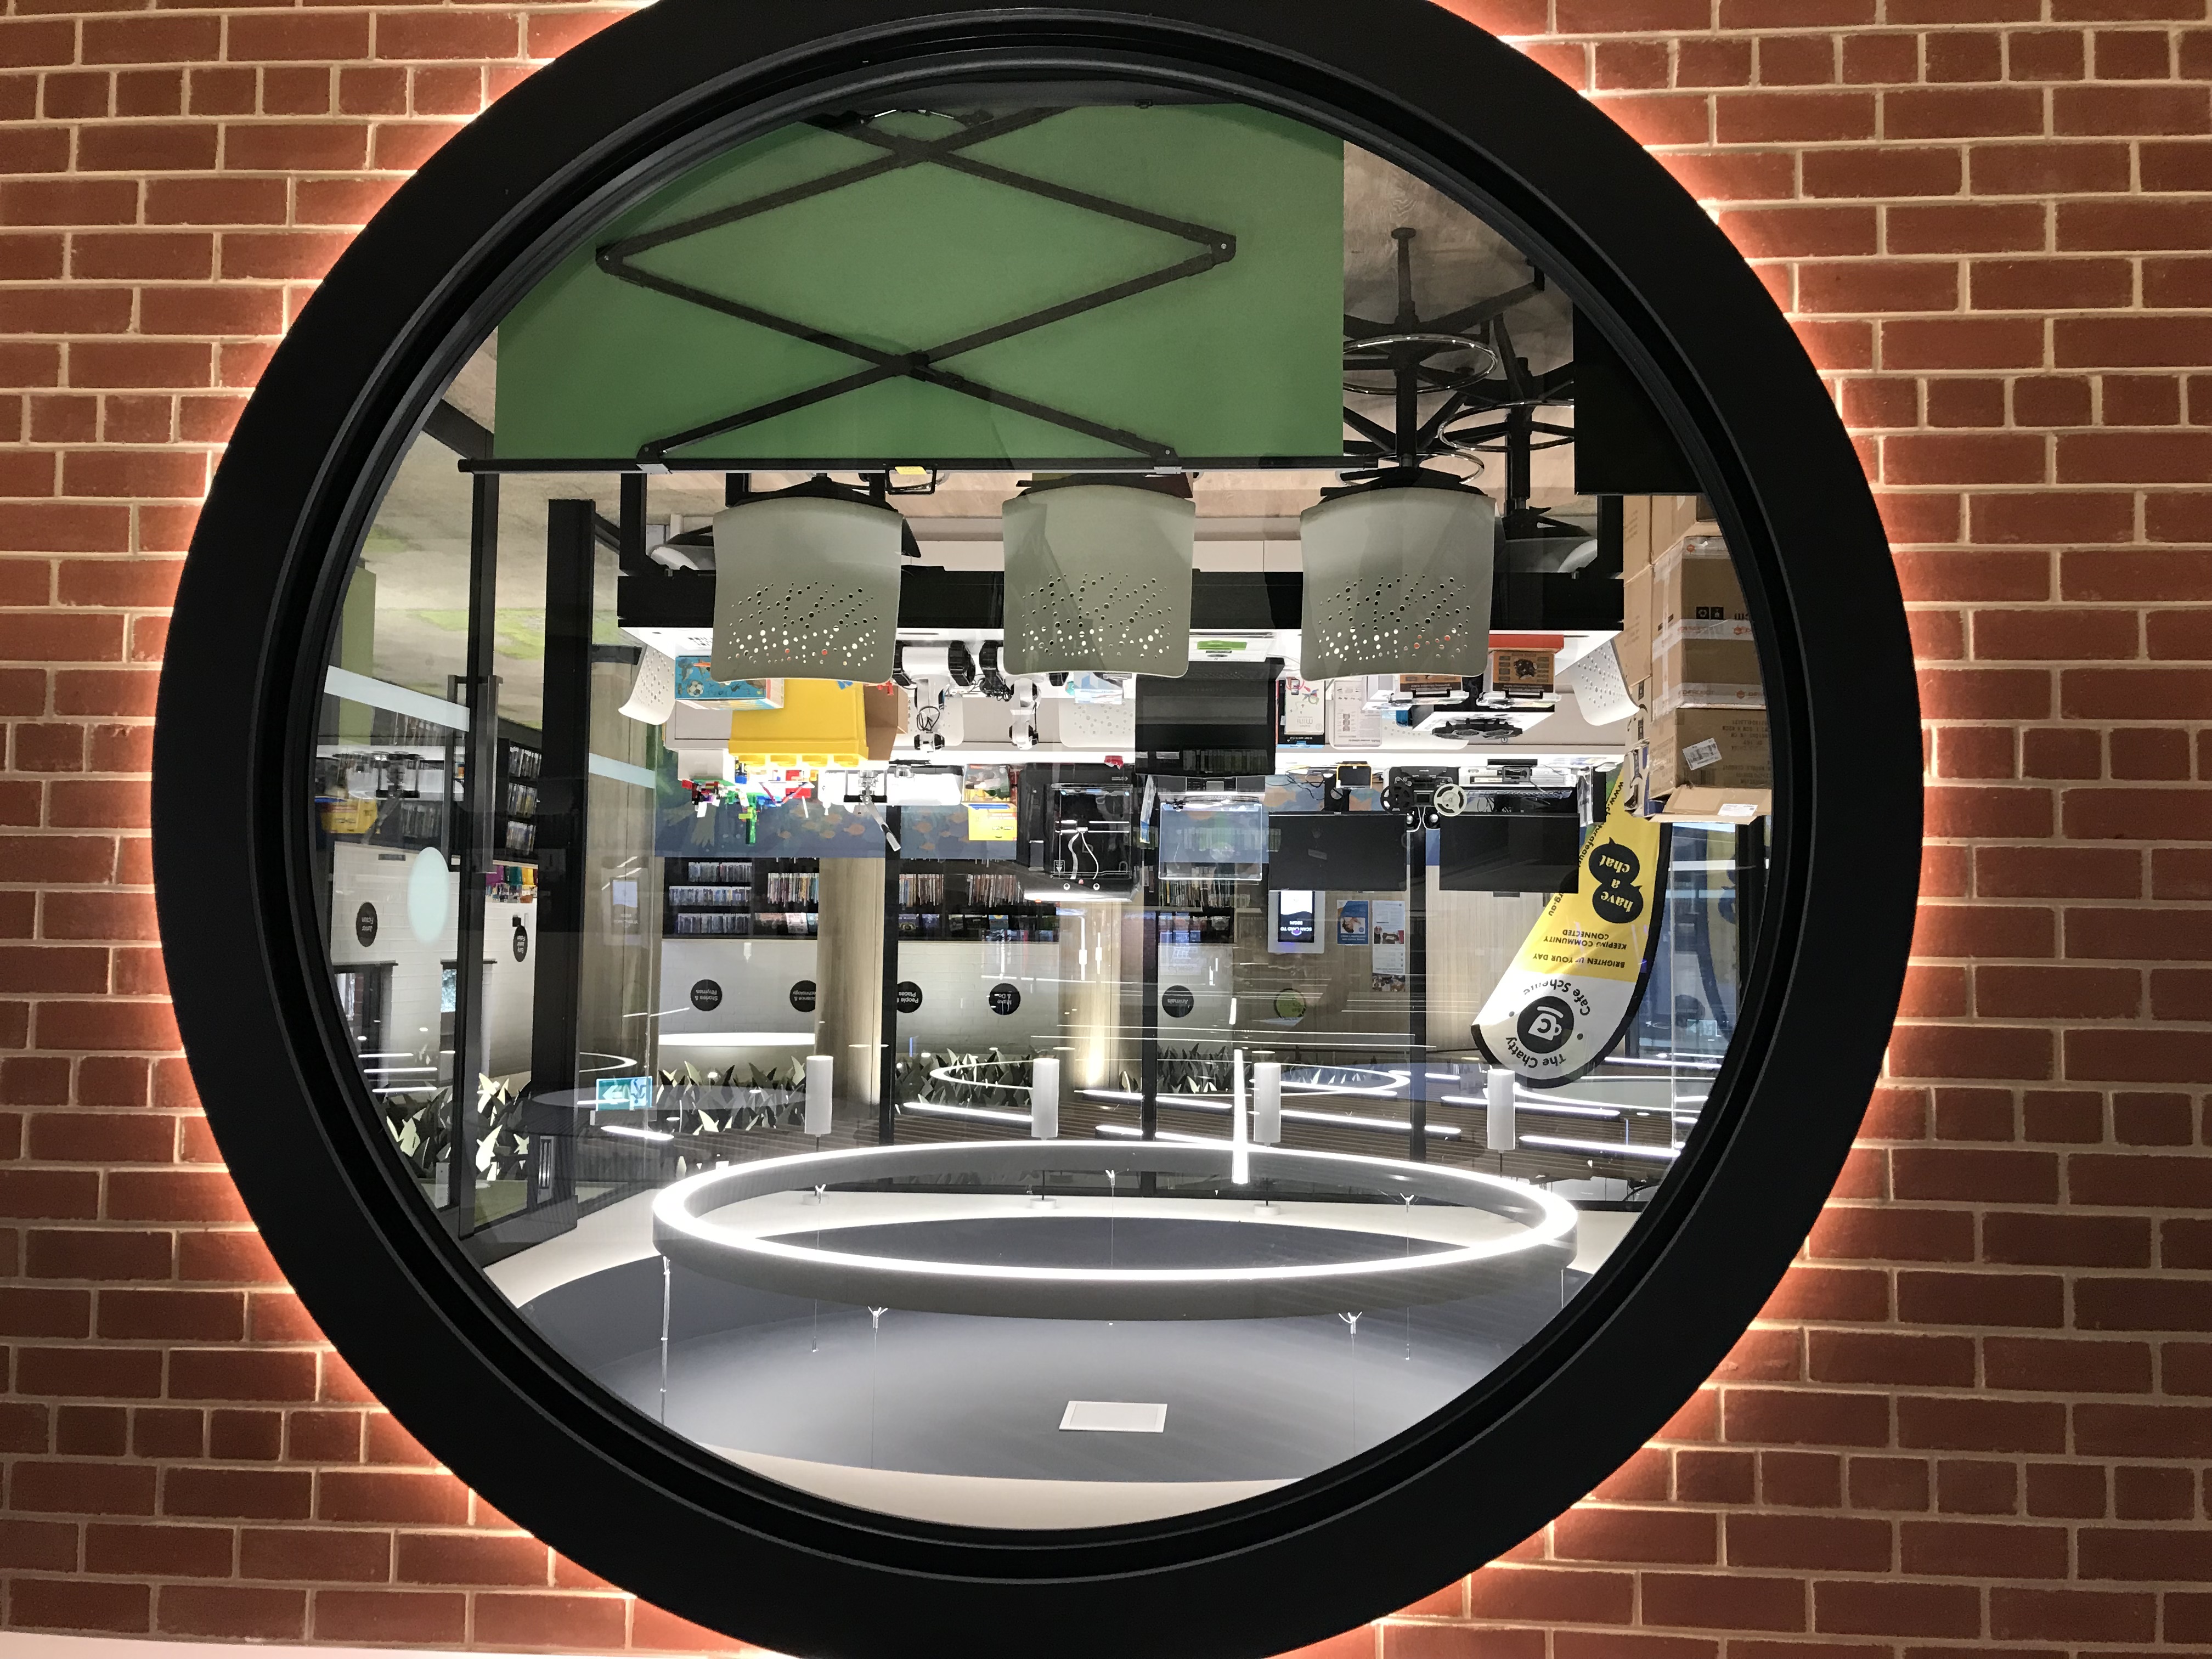
Bayside Libraries offer digitisation equipment for public use, free at our libraries!
In our Create, Play, Learn spaces, you can convert VHS tapes, vinyl records, cassette tapes, DVDs, CDs, slides, negatives and reel-to-reel films.
Additionally, if you are looking to convert negatives, slides and photos, into digital formats, you can borrow one of our take home kits.
What you can convert
| Beaumaris Library | Brighton Library | Sandringham Library | |
| VHS Video Cassettes | ü | ü | ü |
| Vinyl Records | ü | ü | ü |
| Cassette Tapes | ü | ü | ü |
| Compact Discs / DVDs | ü | ü | ü |
| Slides/Negatives | ü | ü | ü |
| Reel-to-Reel Films (self-guided or requires workshop attendance before use) | ü | ü | ü |
VHS to Digital
Convert VHS tape to commonly used digital media formats playable on computers, tablets, smartphones and other digital media players.
Note: You will need to allow as long as the film you are converting runs for to convert it, as you are essentially playing the film whilst you convert.
You will need to bring a USB to save your file too. Storage Medium: USB (up to 128GB) Typical File Size: 1 VHS is usually under 3GB File Format: MP4 (once converted) Resolution: 720x480
1. Plug in a USB flash drive or SD card into the converter. Your digitalised video will be saved onto this drive.
2. Insert your VHS and press the "Play" button on the VCR player.
3. To commence recording, simply press the "Record/Stop" button located on the converter. A timer will appear in the upper left corner of the LCD screen to indicate that the recording has begun.
4. To end the recording, simply press the 'Record/Stop' button once more.
5. Remove your USB flash drive or SD card from the converter.
Vinyl Record and Cassette Tape to MP3
Convert your vinyl and cassette records into MP3 format. You will need to bring a USB to save your files to.
- Storage Medium: USB (up to 32GB)
- Typical File Size: 1 Vinyl is no more than 100MB
- File Format: MP3 (once converted)
1. Plug a USB flash drive into the converter. Your digitalised video will be saved onto this drive.
2. To select between vinyl record (phono) or cassette (tape), use the function button to choose your preferred option.
3. You can choose to record to CD or USB by pressing the "Rec" button once for CD and twice for USB.
4. Press the 'play' button to start recording and stop once you are finished.
5. Remove your USB flash drive or CD from the converter.
Slides and Negatives
Convert your slides and negatives to digital format. You will need to bring an SD card to save your files to.
- Storage Medium: SD card (up to 32GB)
- Typical File Size: 1 Negative/Slide is no more than 10MB
- File Format: JPEG
- Resolution: 14MP
1. Insert the SD card into the scanner's SD card slot, making sure it's face-up and locked in place.
2. Press the power button. The home page will appear on the LCD screen.
3. To start scanning, select 'Film Type' to set the size and type of film you're scanning.
4. Load your film into the 50 x 50 mm Hinged Slide Holder with its corresponding bracket and insert it into the Film/Slide Holder Slot.
5. Adjust the colour and brightness as necessary and press the OK/Scan button to scan the image.
6. Continue feeding the negative or slide through the scanner while pressing the OK/Scan button for each picture. The scanned image will be automatically saved on the SD card.
8mm/Super 8 Reel to Reel
1. Insert SD/SDHC Memory Card (Max. 32 GB)
2. Turn on/off MovieMaker
- Press power button to turn MovieMaker on/off.
3. Clean the Light Table
- Push the film door tab left to flip open the door.
- Use included brush to clean the light table very gently.
4. Mount the Reels and Film
- If adapters are needed, always place the Red colour adapter on the LEFT side; GREY colour adapter on the RIGHT side.
- Mount the included 5" reel on to the right shaft.
- Follow the Film Routing Diagram printed on the face of MovieMaker to route the film.
5. Slide open the flap door, position film sprocket holes at the top. Place film underneath the 3 white tabs. Otherwise, the recorded videos will be jittery. Steps to place film on table:
- Place and hold film underneath Tab #1
- Twist film slightly and clip film underneath Tab #2
- Twist film slightly and clip film underneath Tab #3
6. Make sure the film is properly placed underneath all 3 white tabs, then close the flap door.
7. Menu Selections
- Use Up or Down arrow button to highlight the Menu selection and then press Enter.
8. Record
- Move the Film Selection Lever left (8 mm) or right (Super 8) to select the film type, then press Enter/Start button.
- Press Enter/Start to start recording. While recording is in process, a red dot at upper left corner will blink.
- The MovieMaker will stop recording 2 seconds after user pressed Enter/Stop button.
- The file counter at lower right corner will increase by one after each recording stop. The number of the counter also represents the file name of recorded film.
Note: Use the Frame ADJ option for movies that aren't situated in the screen's centre.
9. Playback
- Press Menu button, highlight the Playback selection, then press Enter.
- Press Up/Down arrow button to select the film file to for Playback, then press Enter/Start.
- Press Enter/Stop to pause the playback.
- Press Menu button one time to the enter Editmode. Highlight Return (go back to Playback) or Delete (delete the current file).
- Press Menu button twice to go back to the Record mode or Main menu
10. Rewind
- Open the flap door and remove film, then close the flap door. Check and confirm the flap door is closed and not in the way of rewinding process to prevent film from being scratched.
- Swap reels. Place an empty reel on the right-side shaft and place film perforation holes on the outside (as shown). If any reel adapter is needed, always place grey adapter on the right-side reel.
- Follow the film routing diagram printed on the MovieMaker (the dotted line) and follow the instructions on the screen.
- Press Enter button to Start/Stop the rewinding process.
Image
Converting VHS to Digital
Converting Vinyl Records and Cassette Tapes to MP3
Converting Slides and Negatives
Converting Reel to Reel Videos
Book to use the DIY Digitisation Station
You can book to use the Digitisation equipment at our Beaumaris, Brighton and Sandringham locations for up to three hours to digitise your items. Book ahead to ensure availability.
Book into use the DIY Digitisation equipment
Important Notes:
- This is a self-serve workstation. Instructions are provided, but library staff are not trained to provide technical support.
- The library is not responsible for any damage customer may incur to their personal property when using this workstation.
- You must supply your own storage media (such as USB) to save your digitized files to.
- The digital conversion process takes place in real-time. For example, if your record runs for 20 minutes, it will take 20 minutes to digitise.